Shortcodes and functionality
Available Spacing Classes
Use these classes to quickly add space inside (padding) or outside (margin) elements. All values are in pixels and increase in steps of 8, from 0 up to 120px.
Padding Classes
What it means: Padding adds space inside the element, between the content and the element’s border.
p-0– 0px padding on all sidesp-8– 8px padding on all sidesp-16– 16px padding on all sides- … continues in increments of 8px up to
p-120 pt-0topt-120– padding on top onlypb-0topb-120– padding on bottom onlypl-0topl-120– padding on left onlypr-0topr-120– padding on right only
Margin Classes
What it means: Margin adds space outside the element, between this element and surrounding elements.
m-0– 0px margin on all sidesm-8– 8px margin on all sidesm-16– 16px margin on all sides- … continues in increments of 8px up to
m-120 mt-0tomt-120– margin on top onlymb-0tomb-120– margin on bottom onlyml-0toml-120– margin on left onlymr-0tomr-120– margin on right only
Responsive Spacing (Different spacing on mobile vs desktop)
What it means: You can set different spacing for different screen sizes by adding -sm-, -md-, -lg-, or -xl- to the class name.
Screen size codes:
- No code (like
pb-120) – applies to all screen sizes -sm-– tablets and larger (576px+)-md-– small laptops and larger (768px+)-lg-– desktops and larger (992px+)-xl-– large desktops (1200px+)
Examples:
pb-120 pb-lg-40– 120px padding-bottom on mobile, changes to 40px on desktopmt-64 mt-md-24– 64px margin-top on mobile, changes to 24px on tablets and upp-16 p-lg-32– 16px padding on mobile, 32px on desktop
How it works: Classes stack from smallest to largest screen. The base class (no size code) applies to mobile first, then larger screen classes override it when the screen is big enough.
Youtube shortcode
To use add:
[youtube id="O6qUu7jS5X8"]
This will have the most basic schema markup added in the background
Options for additional schema (Recommended to use for better seo ):
[youtube id="O6qUu7jS5X8" name="Discover Culligan Water - About Us" description="Description of the video" thumbnail="https://site-culliganeurope-live-1733189135-8yt5yu2mhybbnb.local/wp-content/uploads/2022/12/Culligan-Discover-360x200-Card.webp" thumbnailUrl="https://site-culliganeurope-live-1733189135-8yt5yu2mhybbnb.local/wp-content/uploads/2022/12/Culligan-Discover-360x200-Card.webp"]
[youtube id="O6qUu7jS5X8" name="Discover Culligan Water - About Us" description="Description of the video" thumbnail="https://site-culliganeurope-live-1733189135-8yt5yu2mhybbnb.local/wp-content/uploads/2022/12/Culligan-Discover-360x200-Card.webp" thumbnailUrl="https://site-culliganeurope-live-1733189135-8yt5yu2mhybbnb.local/wp-content/uploads/2022/12/Culligan-Discover-360x200-Card.webp" imgurl="https://site-culliganeurope-live-1733189135-8yt5yu2mhybbnb.local/wp-content/uploads/2022/09/Group-303.png" type="img" autoplay=true]
id – The ID of the video
autoplay=true – Autoplay video on load
type="img" – Will play video after click on chosen image
imgurl – Thumbnail image URL, when type="img" is chosen
name – Name of the video (SEO)
description – Description of the video (SEO)
thumbnail – Url of the thumbnail of the video (SEO)
thumbnailUrl – Url of the thumbnail of the video (SEO)
uploadDate – Date of video upload (SEO)
duration – duration of the video the format is PT1M30S ( PT= Period Time 1M = 1 minute and 30s = 30seconds ) (SEO)
Menu shortcode
Culligan Settings -> Footer Menu
Appearance -> Menus
-used mostly in footer
-will retrieve WP menu
[menu id="13"]
id – ID of WP menu
Social media shortcode
Culligan Settings -> Footer Menu
This shortcode will create social media 20×20 icons :
[social_media]
Custom links and images
To add a link use the shorcode:
[link url="https://site-culliganeurope-live-1733189135-8yt5yu2mhybbnb.local/get-a-quote/" text="Click here"]
url= Here goes the URL of the page we are linking to or the PDF to download
text= Here goes the visible text which the visitor will be clicking on
to add an image use the shortcode:
[image url="https://site-culliganeurope-live-1733189135-8yt5yu2mhybbnb.local/wp-content/themes/culligan-emea/img/close.svg" alt="logo" width="15" height="15"]
url= URL (src) of the image
alt= alt text
width= in pixels, without units written explicitly, if this is not set, the default is 100%
height= in pixels, without units written explicitly, if this is not set, the default is 100%
Scroll to
To link to Points in a page Please use our custom scroll functionality instead of linking to div ids
To use the scroll functionality add #scroll-something-custom-here and then use that as a class on the div you want to scroll to
this is just an example in combination with the link shortcode this can be added to available link or href fields in chosen modules
example
[link url="#scroll-mycustomname" text="Click here"]
this is the html example but ideally the scroll-mycustomname will be put in the available classes field of the module you with to scroll to Notice the # is not used when adding it to the class just in the link
<div class="scroll-mycustomname">Some div on the page <div>
Buttons Shortcode
To add a button use the shorcode:
[button class="btn btn-primary" link="/page"]Button[/button]
for all the button styles go to Style guides page
Trustpilot Shortcode
To add Trustpilot use the shorcode:
Reviews Module mini – Thin Version:
[trustpilot version="thin"]
Read more
Thick version – Horizontal:
[trustpilot version="thick" layout="horizontal"]
Read more
Thick version – Stacked:
[trustpilot version="thick" layout="stacked"]
Read more
Micro version
[trustpilot version="micro" layout="stacked"]
If the background is dark and the text needs to be white, simply add color=”white” to the shortcode, like this:
[trustpilot version="thin" color="white"]
Call Us
If you would prefer to talk to one of our experts, please contact us on the phone number below:
Visit our Hydration Showroom
You can pop into our Hydration Showroom to view and test some of our products!
Hreflang Interlinking Functionality Across Multiple Websites
This feature helps manage interlinks between different websites in multiple languages (e.g., example.co.uk for English, example.de for German). Editors can select the correct page title from a dropdown to link to the appropriate language version on different websites.
How It Works
Data Management: A Google Sheet stores the language links for each page across different websites. This data is converted into a JSON file that is regularly updated.
Dropdown Selection: On each page, there’s a custom hreflang field. Editors can select the appropriate “Title” for the page from a dropdown populated with page titles fetched from the JSON file.
Automatic Updates: Whenever the spreadsheet is updated, the JSON file is automatically refreshed every Hour or so, ensuring the dropdown always reflects the most current option.
We’ve updated the way hreflang tags are managed across our sites:
- Hreflang is now managed globally.
- The Spreadsheet is the single source of truth. As long as URLs are listed in the spreadsheet, no additional action is needed on individual sites.
- If a page is not yet part of a hreflang group but should be, please contact Sina Mylluks.
If a page title does not exist for your page please create a ticket request and we will check if it needs to be included.
Blocks: Reusable Content Sections
Blocks are reusable content pieces you can create and manage in the Blocks section of the admin dashboard. Allowing you to design sections of content (e.g., banners, FAQs, or testimonials etc..) that can be reused across multiple pages.
How They Work:
Create a Block: Add content to a new Block in the Blocks section.
Use a Block:Add it to a page using the Custom Block module.
Or insert it with the provided shortcode.
Edit a Block: Update the content in one place, and the changes will reflect everywhere the Block is used.

Module Finder: Locate Modules on Pages
The Module Finder is a tool in the admin panel that helps you locate where specific modules are used across the site. Simply select a module from the dropdown, click Find module, and the tool will display a list of pages where that module is used.
Important Notes:
The Module Finder does not include Blocks. If a module is used inside a Block and the Block is added to a page, the Module Finder will not track it.
This tool is helpful for quickly identifying where content modules are directly placed on your pages.

Form Finder: Locate Forms on Pages
The Form Finder tool in the admin panel helps you find where specific forms are used on your site. Select a form from the dropdown, click Search, and the tool will list all the pages where the form is directly added.
Important Notes:
The Form Finder does not include Blocks. If a form is used inside a Block and the Block is added to a page, the tool will not track it.

Landing Pages Tracker
Our Theme automatically collects a list of landing pages from multiple websites. It identifies pages whose names start with “lp”, regardless of capitalization or formatting.
Data Collection: The system gathers all pages starting with “lp” and adds them to a Google Spreadsheet.
Organization: The spreadsheet includes a “Landing Pages” tab where all pages are listed. Additionally, there are separate tabs for each website to keep the pages organized by site.
View hereGenerate Image Sitemap
In the Culligan Settings section of the admin panel, there’s a tool to generate an Image Sitemap. This sitemap includes all the images on your site and can be downloaded if needed.
How to Use:
- Go to Culligan Settings in the admin panel.
- Click Generate Image Sitemap to create the file.
- Download the sitemap for your records or external use.

Tooltips: Add Interactive Descriptions
The Tooltips Admin Page allows you to create custom tooltips that can be attached to elements across your website. Tooltips provide interactive descriptions or information when users interact with specific elements.
How to Use:
- Create a Tooltip:
- Go to Culligan Settings > Tooltips Admin Page.
- Add a tooltip and configure its settings (e.g., content, effect, width, and visibility).
- Set a Tooltip Hook (e.g.,
tooltip-nav-button). This will act as a unique identifier.
- Apply the Tooltip:
- Add the tooltip hook as a CSS class to the HTML element where you want the tooltip to appear.
- Settings:
- Customize how the tooltip appears, such as:
- Effect: Hover or time-delay.
- Width: Define its size.
- Hide on Mobile: Choose visibility for smaller screens.
- Exclude Pages: Prevent the tooltip from appearing on specific pages.
- Customize how the tooltip appears, such as:
Tooltips are managed entirely through this admin interface, and any settings you define will automatically apply where the tooltip is used.

Form Redirects: Customize Form Submission Paths
The Form Redirects page in Culligan Settings lets you customize where specific forms redirect users after submission. By default, all forms redirect to /thank-you. If this slug changes, the default redirect will no longer work.
How to Use:
Set Custom Redirects:
Select one or more forms from the list.
Enter the URL of the page where you want the form to redirect after submission.
Optional Settings:
Set Timeout Delay: Add a delay (in milliseconds) before the redirect happens if needed.
This tool ensures that each form can have a unique submission path, improving user navigation and engagement. Be sure to update redirects if page slugs are changed.
Please use these query strings for all form redirects for tracking purposes:
When the user is a prospect : ?lead=prospect
When the user is already a client : ?lead=existing-customer

Automatic Image Processing
The theme now includes a new functionality for automatic processing of images uploaded to the media library. This feature automatically:
- Converts images from JPEG or PNG formats to WebP for better performance.
- Compresses images to reduce file size without sacrificing quality.
- Resizes images to a maximum resolution of 1920×1920 pixels.
These improvements help optimize your website’s loading speed and enhance overall performance.
Flamingo clean up functionality

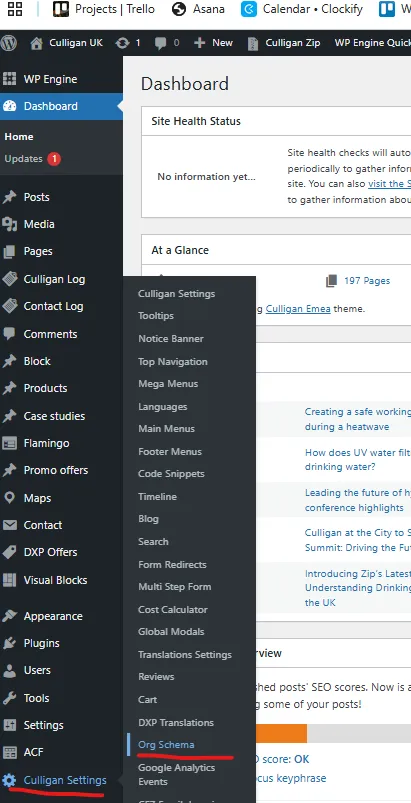
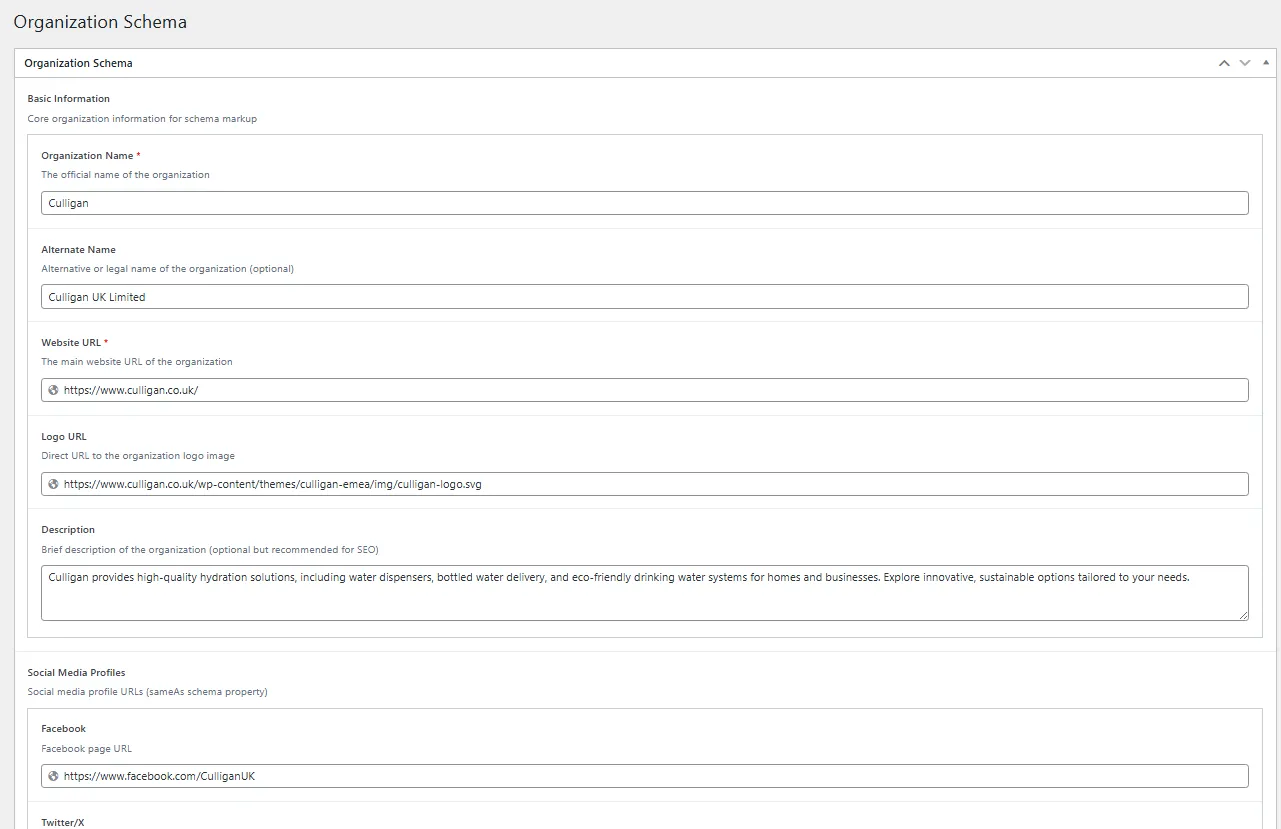
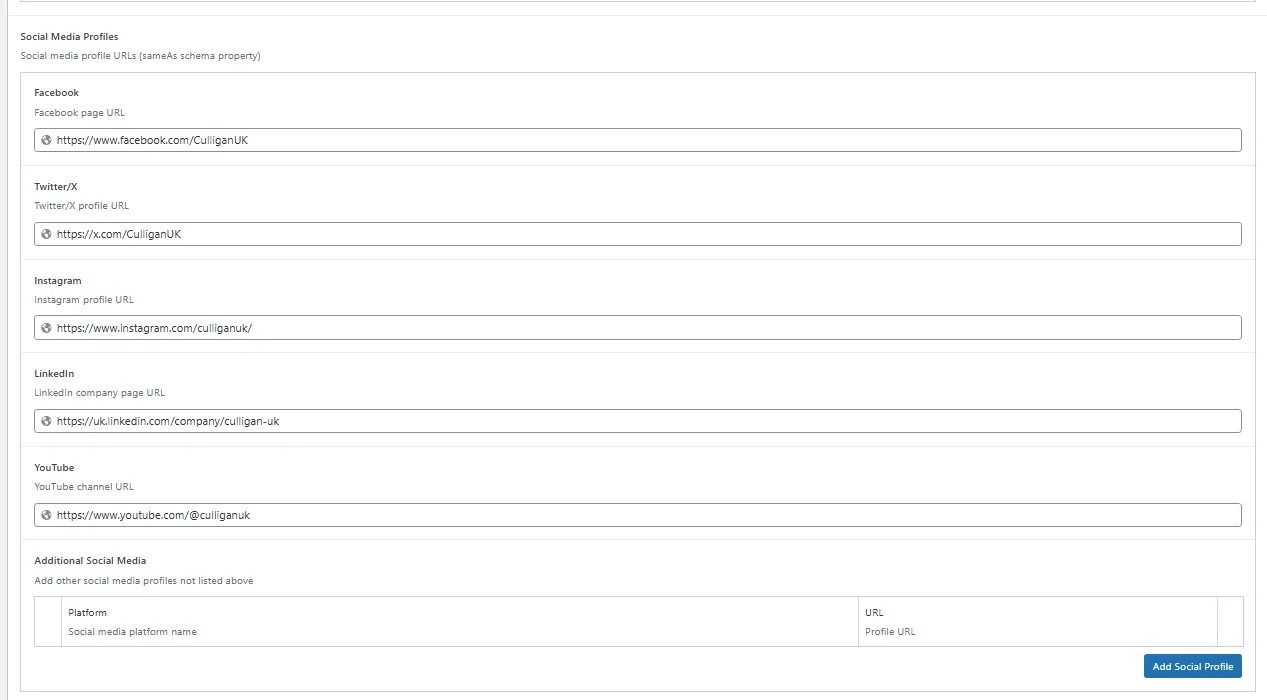
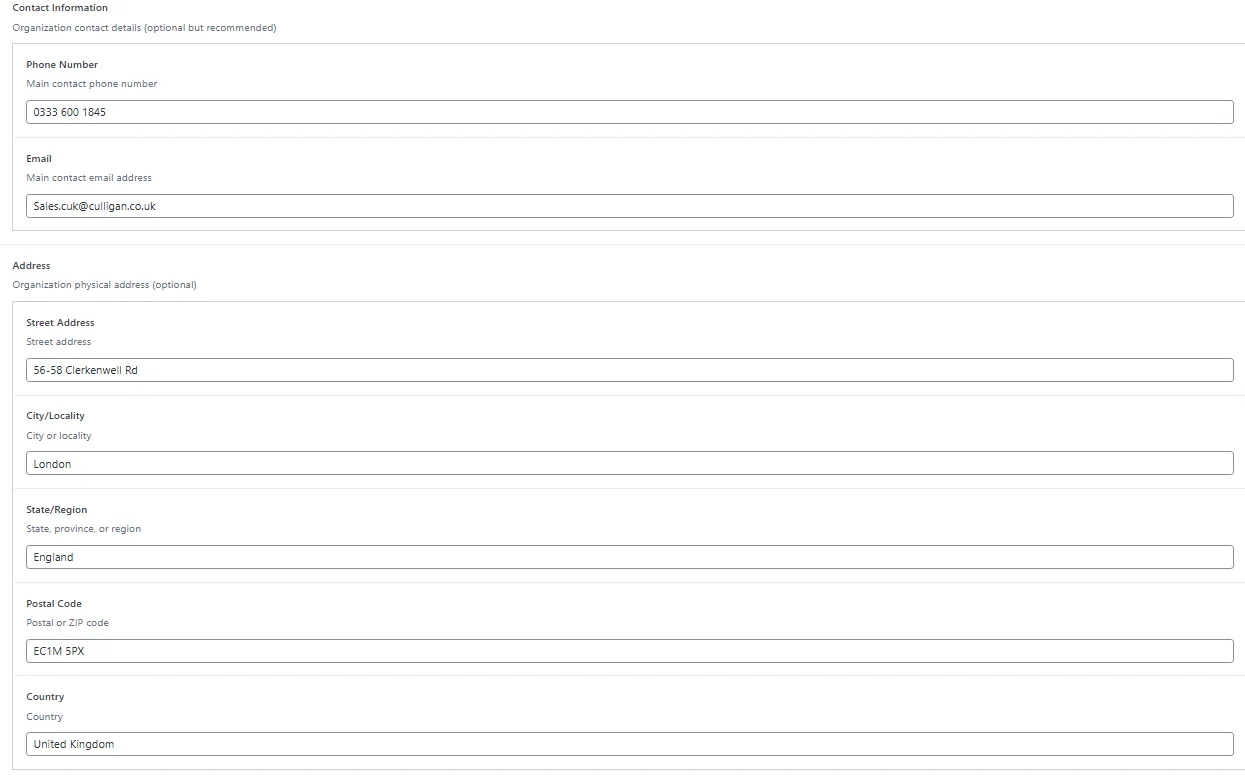
Organization schema


